 I just installed Adobe AIR in my Ubuntu system and installed a AIR application thereafter . Here’s the process:
Go to http://get.adobe.com/air/ to download a Adobe AIR Installer package. I did install from a .bin package so i shall write about installing it from a .bin package. Actually, i would explain a bit about how to install it from a .deb package as well.
In console, navigate to the folder where you downloaded it to. My Firefox browser downloaded it to /home/arvind/Downloads so i ran command:
$ cd /home/arvind/Downloads
Now, do one of the following options:
- Option One – If you downloaded a .bin package, run chmod command to make it executable first.
$ sudo chmod +x AdobeAIRInstaller.bin(Note: In the command above AdobeAIRInstaller.bin is the name of installer file which may be different for you.)
Now run the command to launch the installer, using:
$ ./AdobeAIRInstaller.bin - Option Two – If you downloaded a debian package i.e. AdobeAIRInstaller.deb run the following command. Rest of the installation process is going to be same for any of .bin or .deb.
$ sudo dpkg -i AdobeAIRInstaller.deb
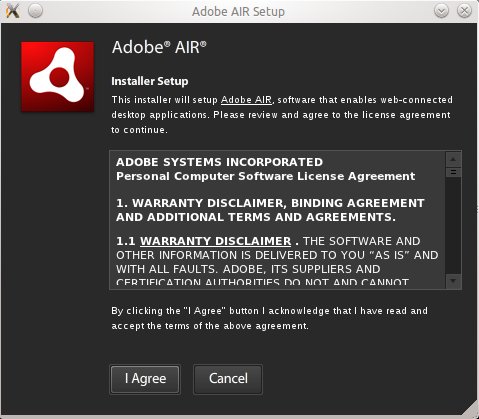
Following any one of the two options above, installer should launch to begin installation.
Once you click “I Agree” the installation starts immediately. The installation should finish within a few seconds and should ask you to click on “Finish” button. Just click it and Adobe AIR installation will be done.
Now it’s time to install a .air application. It’s as easy as opening a file. Right click any *.air file and select Open With > Adobe AIR Application Installer and click Ok. Your .air application should install and launch just fine.
