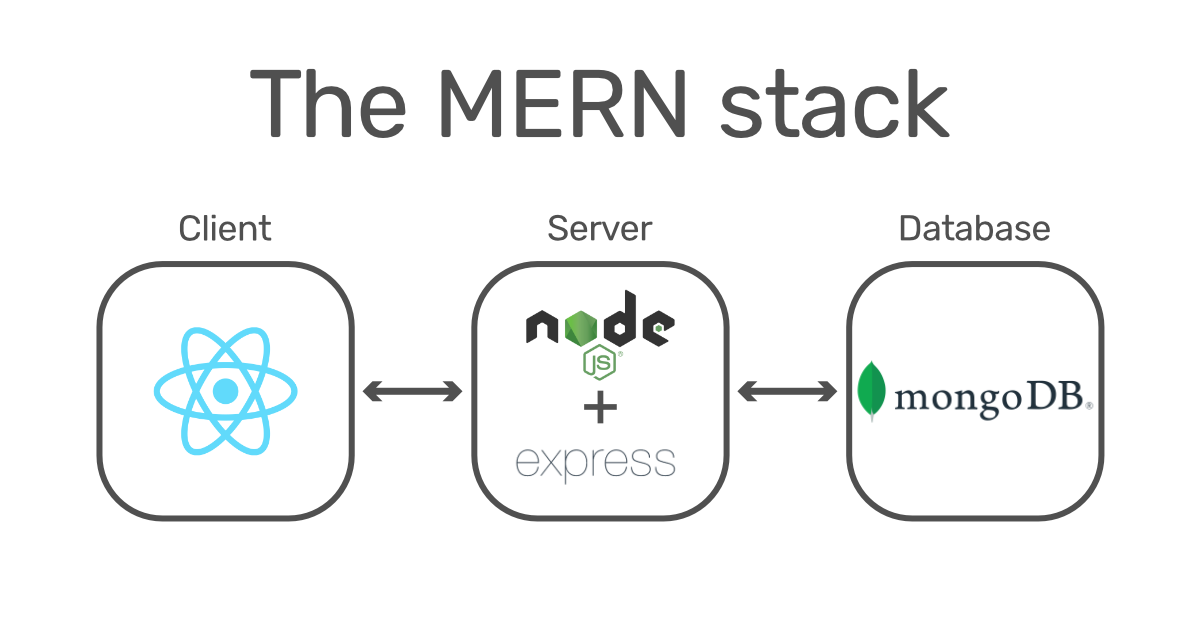
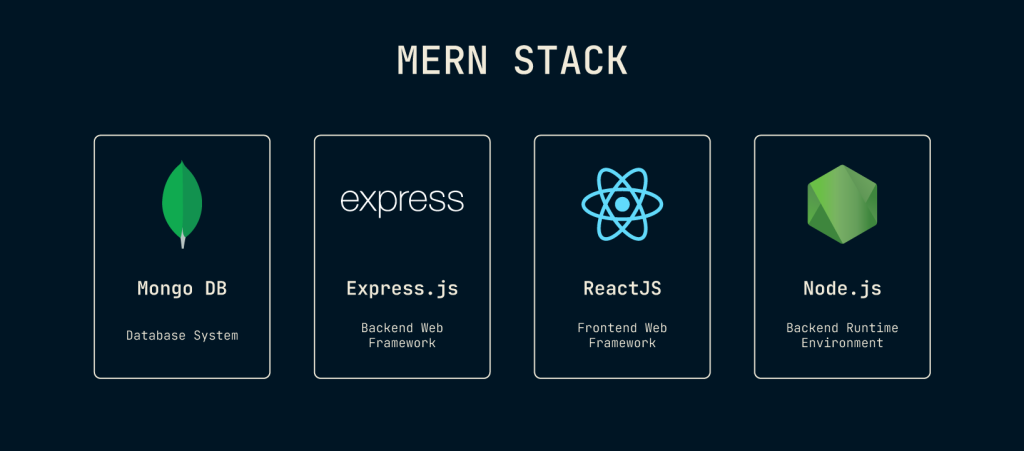
Introduction: The MERN stack is a popular JavaScript stack used for building full-stack web applications. It consists of:
- MongoDB (Database)
- Express.js (Backend framework)
- React.js (Frontend framework)
- Node.js (Runtime environment)
MERN allows developers to use JavaScript for both the frontend and backend, making development easier and more efficient.
Why Choose MERN?
- JavaScript Everywhere – Use JavaScript for the entire application (frontend, backend, and database queries).
- Fast Development – React and Node.js offer rapid development and high performance.
- Scalability – Suitable for small to large applications.
- Open Source – All technologies in MERN are open source and have a strong community.
Setting Up a MERN Project
1. Install Node.js
Download and install Node.js from nodejs.org. It includes npm (Node Package Manager), which we’ll use to install dependencies.
2. Initialize a Project
Create a new folder for your project and initialize it:
mkdir my-mern-app
cd my-mern-app
npm init -y
3. Set Up the Backend (Node.js & Express.js)
Install Express.js:
npm install express mongoose dotenv cors
Create a Basic Server (server.js):
const express = require("express");
const mongoose = require("mongoose");
const cors = require("cors");
require("dotenv").config();

const app = express();
app.use(express.json());
app.use(cors());

const PORT = process.env.PORT || 5000;

app.get("/", (req, res) => {
  res.send("MERN Stack Backend is Running!");
});

app.listen(PORT, () => console.log(`Server running on port ${PORT}`));
Connect to MongoDB
- Create a MongoDB Atlas account and get your MongoDB URI.
- Install Mongoose to interact with MongoDB.
- Update your server.js to connect MongoDB
mongoose.connect(process.env.MONGO_URI, { useNewUrlParser: true, useUnifiedTopology: true, }) .then(() => console.log("MongoDB Connected")) .catch(err => console.log(err));
4. Set Up the Frontend (React.js)
Install React:
npx create-react-app client
cd client
npm start
Install Dependencies:
npm install axios react-router-dom
Create a Simple Component (App.js):
import React, { useEffect, useState } from "react";
import axios from "axios";

function App() {
  const [message, setMessage] = useState("");

  useEffect(() => {
    axios.get("http://localhost:5000/")
      .then(response => setMessage(response.data))
      .catch(error => console.log(error));
  }, []);

  return (
    <div>
      <h1>MERN Stack App</h1>
      <p>{message}</p>
    </div>
  );
}

export default App;
5. Connecting Frontend & Backend
In client/package.json, add a proxy:
"proxy": "http://localhost:5000"
6. Running the Project
Start the Backend:
node server.js
Start the Frontend:
cd client
npm start
Read Also :
Introduction to Node.js for Beginners
How to Modify WooCommerce Templates
Also Visit:
http://www.inimisttech.com