Setting conditions for Site Part Templates in Elementor (such as headers, footers, and single post templates) allows you to control where a template appears across your website. Templates can appear on all or some of your pages. For instance, you can have the same header and footer appear on all your site’s pages or you can create a special header for your product pages.
To set conditions for templates to appear.
1. Create a site part template.
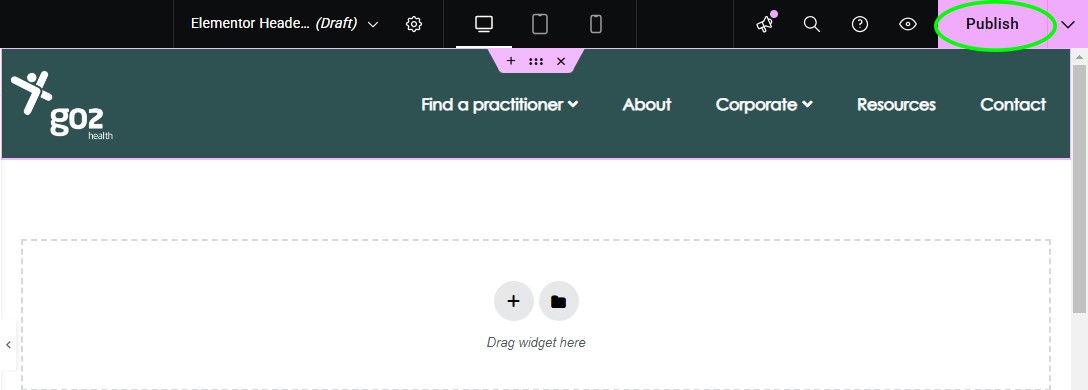
2. Click Publish to save the site part template.
The conditions window appears.
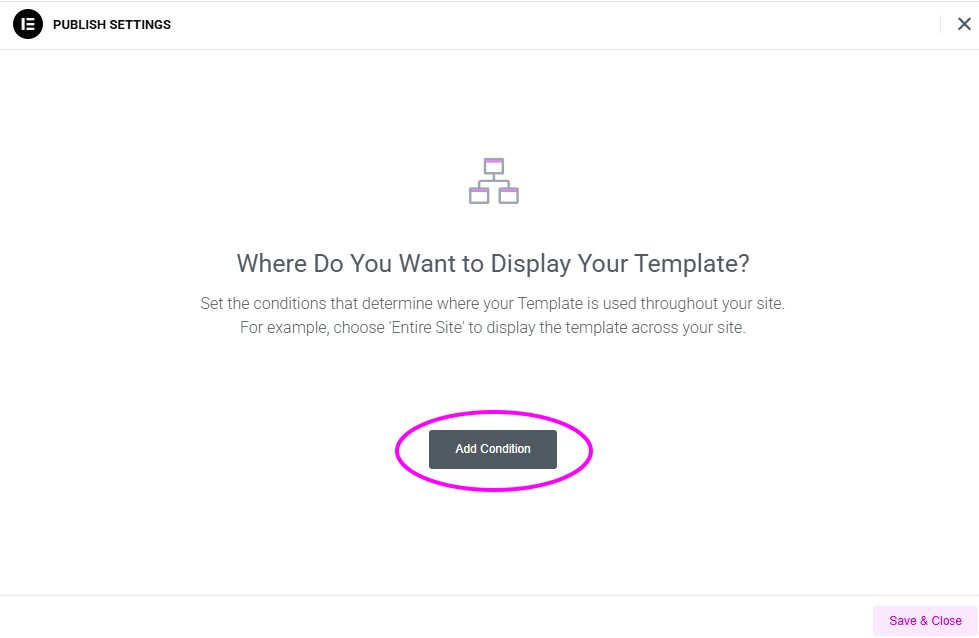
3. Click Add condition.
4. If you want this site part to appear on all pages, leave the default setting as is and click Save & Close in the lower-right corner.
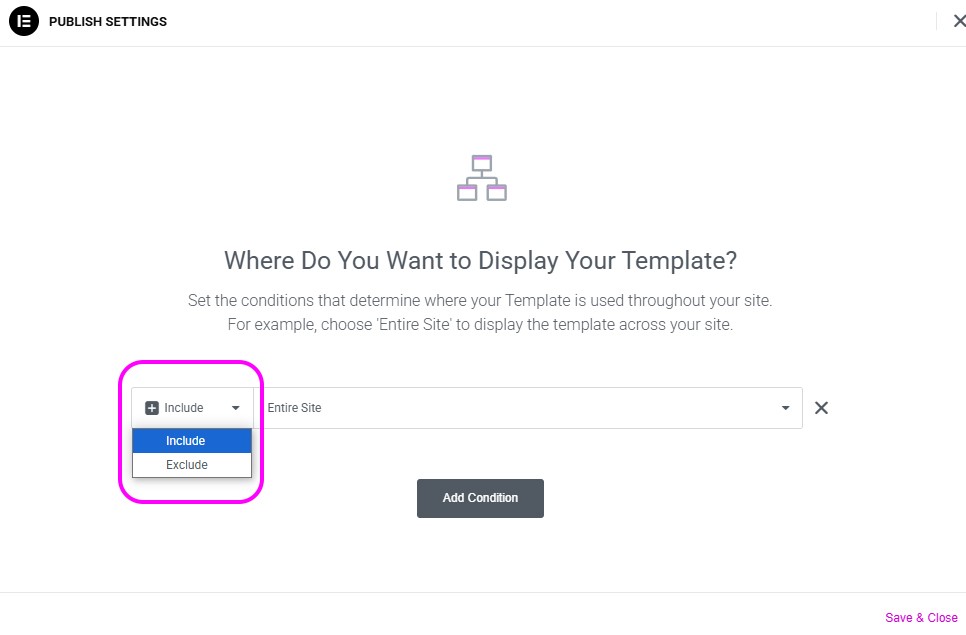
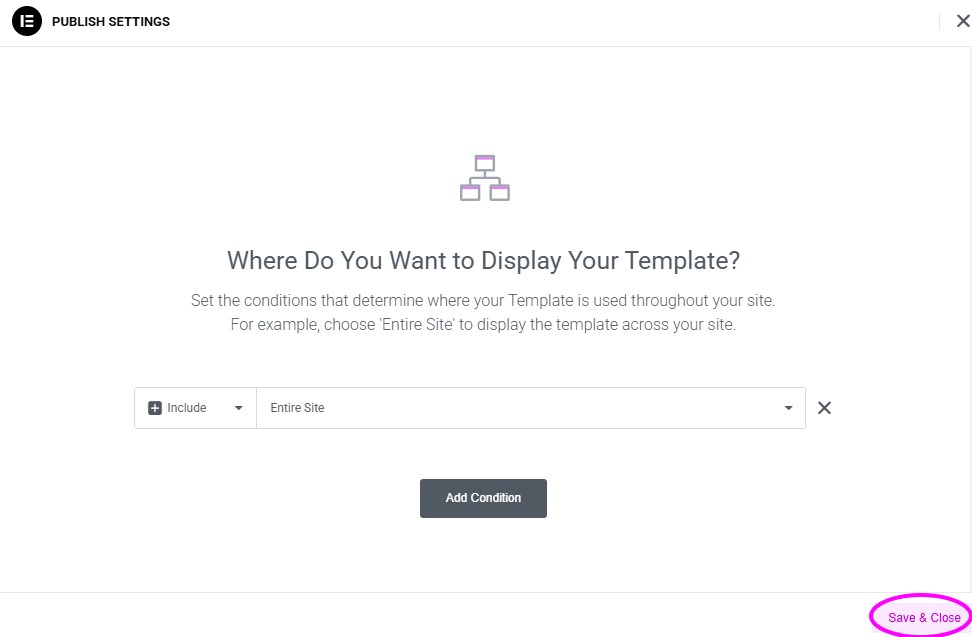
5. If you want to limit the template to certain pages, use the left dropdown to determine if you’re going to Include or Exclude
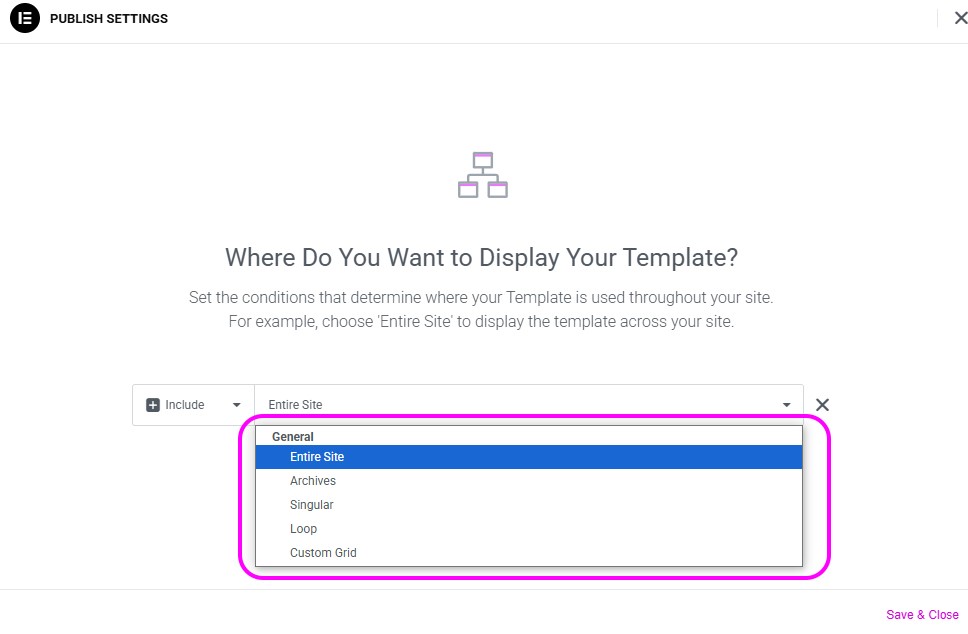 6. The right dropdown determines which pages will be included or excluded.
Edit display conditions
After you assign display conditions to a template, you can edit these conditions.
1. Open the template in the Elementor Editor.
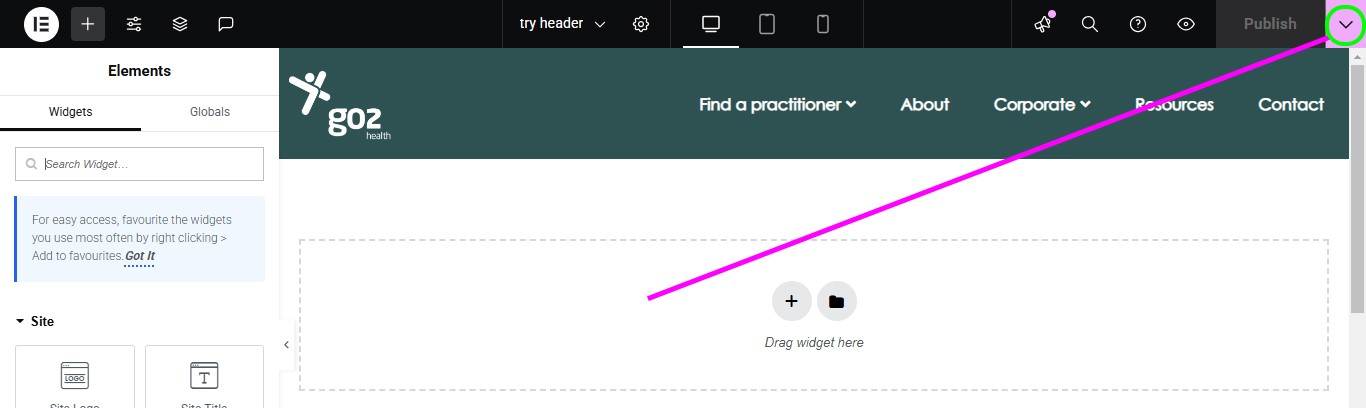
2. Click the down arrow next to the Publish button.
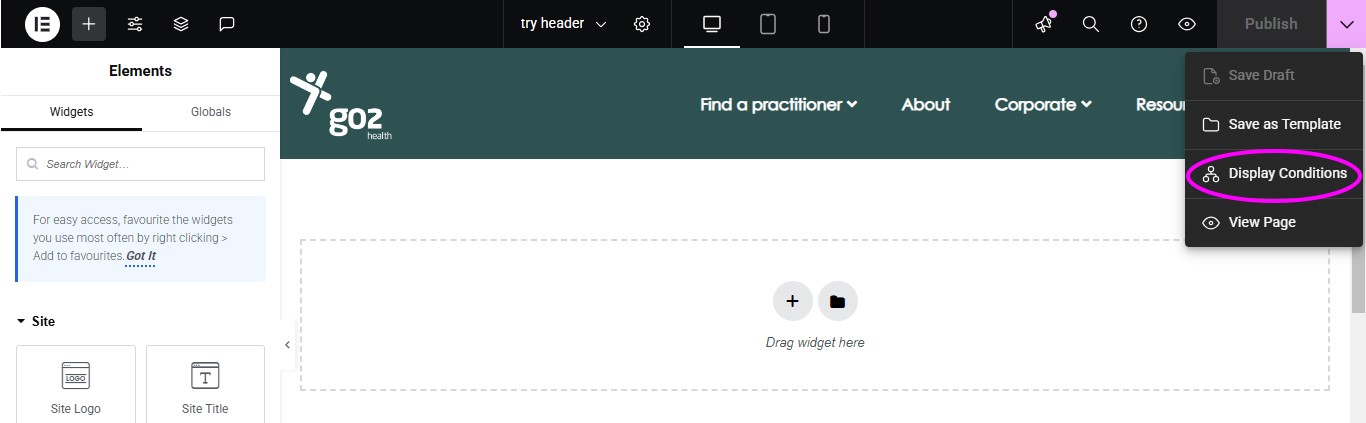
3. Select Display Conditions.
You can now edit the display conditions.
List of template options
The following is a list of options for including and excluding pages.
- Entire Site:
Use it to select every page on the site. - Singular:
Use to select individual pages or groups of pages on the site. After selecting Singular, you need to narrow your selection:- All Singular: Any page that doesn’t fall under another category such as Archives.
- Front Page: The Home page.
- Posts: All Posts by default with the option to manually select specific posts.
- In Category: All posts in a selected category.
- In Child Categories: all posts in selected subcategories.
- In Tag: All posts with selected tags.
- Posts by Author: All posts by a selected author.
- Pages: All pages by default with the option to manually select specific pages.
- Page by Author: All posts by a selected author.
- Landing Pages: All landing pages by default with the option to manually select specific landing pages.
- Landing pages by Author: All Landing pages by a selected author.
- Floating buttons: All floating buttons by default with the option to manually select specific floating buttons. .
- Floating buttons by Author: All Floating buttons by a selected author.
- Media: All media by default with the option to manually select specific media.
- Media by Author: All media by a selected author.
- Direct child of: Select a specific page or post and the template will appear in any direct child page or post.
- Any Child of: Select a specific page or post and the template will appear in any child page or post, this includes a child of a child page or post.
- By Author: Any element by a selected author.
- 404 Page: The template will appear on the 404 page.
- Archives:
All Archives by default but you can select certain archives.- Author Archive: Select all archives by a selected author.
- Date Archive: Select date archives.
- Search Results: Select Search Results pages.
- Posts Archive: Select post archive pages.
- Categories: All archives in a selected category.
- Direct Child Category: Select a specific archive and the template will appear in any direct child page or post.
- Any Child Category: Select an archive and the template will appear in any child page or post, this includes a child of a child page or post.
- Tags: Select archives with a specific tag.
Read Also :
How to Add Custom Fonts to Elementor
Session and Cookies in PHP: When to Use What?
Also Visit :