WordPress offers a powerful REST API Endpoints that allows developers to interact with WordPress data from external applications. In addition to the default endpoints provided by WordPress, you can create custom REST API endpoints to perform specific tasks or expose custom data. In this article, we’ll walk through the process of creating your own custom REST API endpoint on WordPress.
Why Create a Custom REST API Endpoint?
Custom REST API endpoints are useful when you need to:
Access data that isn’t available through the default WordPress API.
Add custom functionality to your site that needs to be accessed via external services or applications.
Create endpoints that perform specific tasks, like querying custom post types, handling form submissions, or integrating with third-party systems.
Steps to Create a Custom REST API Endpoint
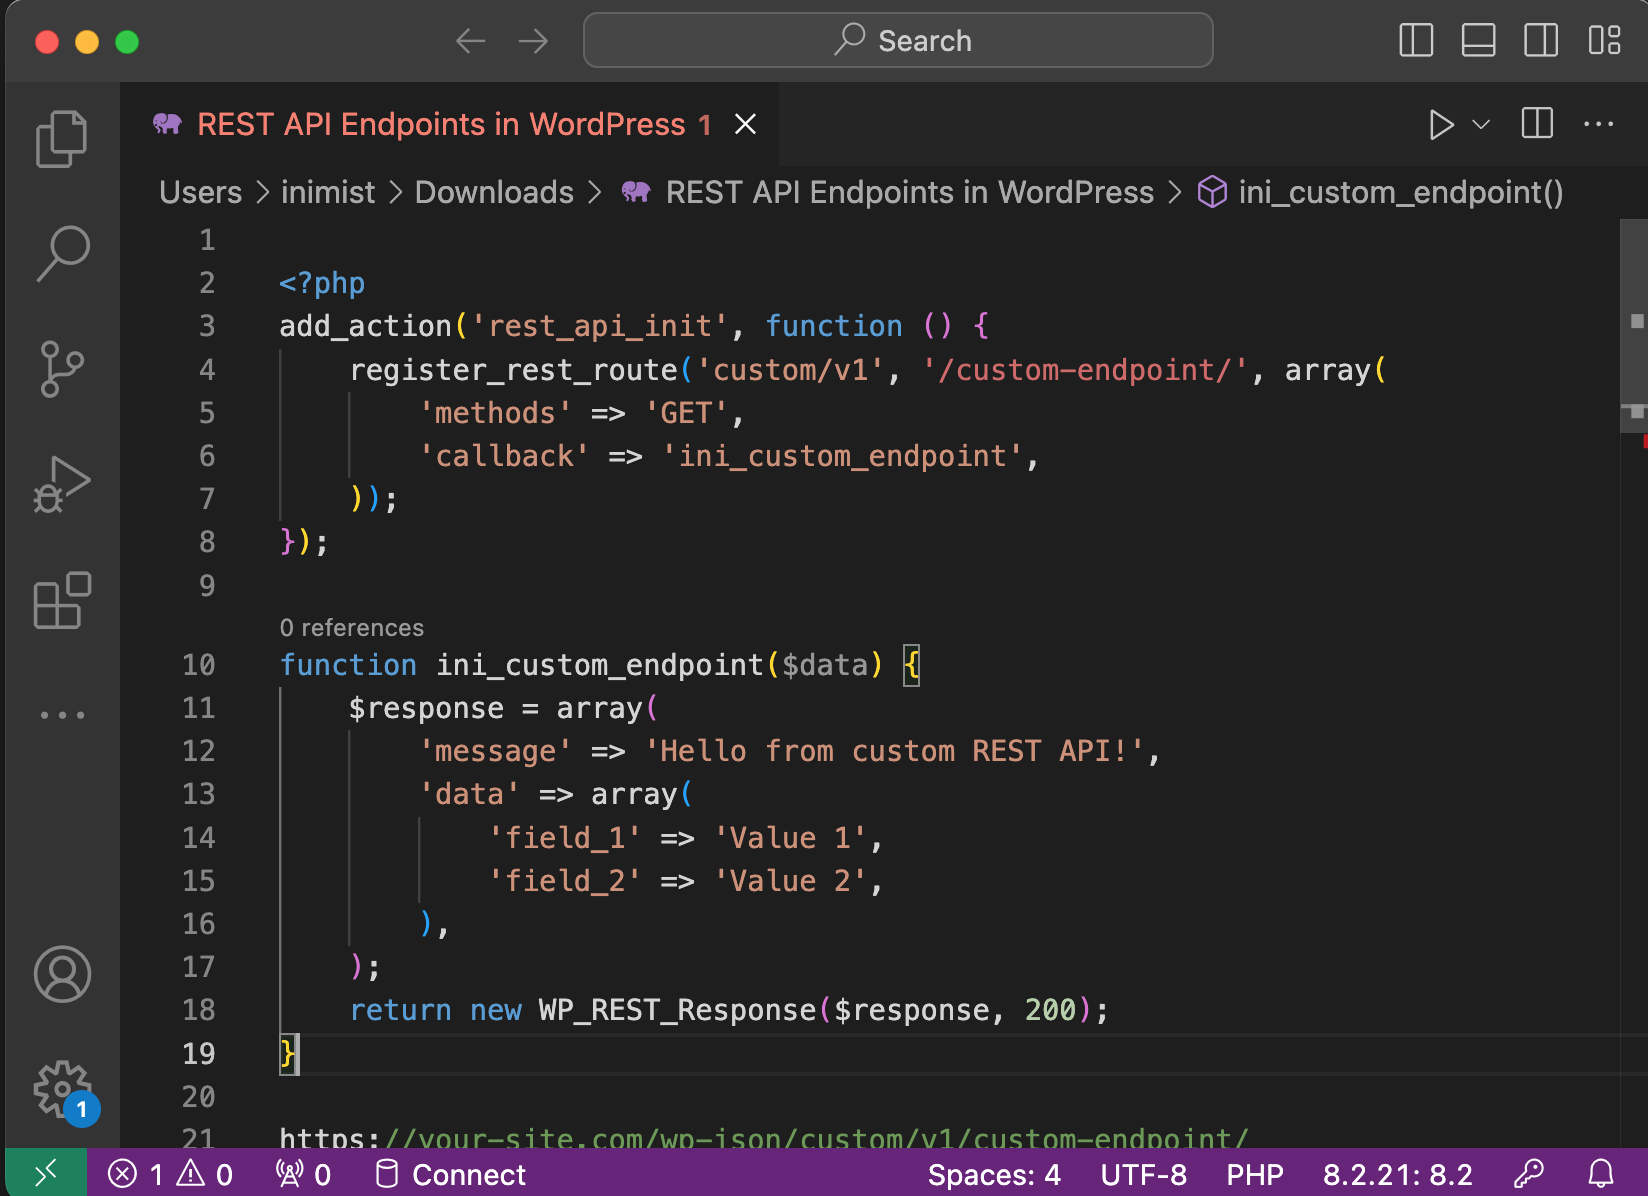
Register the Endpoint: The register_rest_route function is used to define a new endpoint. You can add this function to your theme’s functions.php file or in a custom plugin.
Example:
add_action('rest_api_init', function () {
    register_rest_route('custom/v1', '/custom-endpoint/', array(
        'methods' => 'GET',
        'callback' => 'ini_custom_endpoint',
    ));
});

function ini_custom_endpoint($data) {
    $response = array(
        'message' => 'Hello from custom REST API!',
        'data' => array(
            'field_1' => 'Value 1',
            'field_2' => 'Value 2',
        ),
    );
    return new WP_REST_Response($response, 200);
}
This code registers a new REST API route at /wp-json/custom/v1/custom-endpoint/ that returns a simple JSON response when accessed.
Accessing the Custom Endpoint: Once registered, the endpoint can be accessed by visiting the URL in a browser or through a tool like Postman:
https://your-site.com/wp-json/custom/v1/custom-endpoint/
The response will be:
json
{
    "message": "Hello from custom REST API!",
    "data": {
        "field_1": "Value 1",
        "field_2": "Value 2"
    }
}
Handling POST Requests and Parameters: You can also extend your API to handle POST requests and accept parameters:
add_action('rest_api_init', function () {
    register_rest_route('custom/v1', '/custom-endpoint/', array(
        'methods' => 'POST',
        'callback' => 'ini_custom_post_endpoint',
        'args' => array(
            'param1' => array(
                'required' => true,
                'validate_callback' => function($param, $request, $key) {
                    return is_string($param);
                }
            ),
            'param2' => array(
                'required' => true,
                'validate_callback' => function($param, $request, $key) {
                    return is_numeric($param);
                }
            )
        ),
    ));
});

function ini_custom_post_endpoint($request) {
    $param1 = $request->get_param('param1');
    $param2 = $request->get_param('param2');

    $response = array(
        'message' => 'POST request received',
        'param1' => $param1,
        'param2' => $param2,
    );

    return new WP_REST_Response($response, 200);
}
Conclusion
Custom REST API endpoints in WordPress open up endless possibilities for developers to extend WordPress functionality. By using the register_rest_root function, you can easily add custom endpoints to perform various tasks, from querying specific data to handling form submissions.
Read Also:-
How To Filter Listings With Elementor Taxonomy Filter Widget
Ultimate Guide to Caching Data in PHP
Also Visit :-