The Elementor Taxonomy widget is your secret weapon for taking control of your website’s content presentation. By effortlessly filtering items by categories and tags, it not only streamlines your content but also supercharges user engagement and experience. In this blog, we’ll explore how the Elementor Taxonomy Filter widget can revolutionize your website, making it more user-friendly and engaging than ever before.
What Is The New Elementor Taxonomy Filter Widget?
The long-anticipated first phase of the Elementor Taxonomy Filter has arrived, bringing the power of a filter bar to your Loop Grid. This feature enables your visitors to effortlessly refine listings by categories and tags, enhancing their experience. For instance, if you own an online fashion store, your visitors can now choose from dresses, shoes, or accessories. Similarly, if you’re running a food blog, you can let your readers select the type of recipes they want to explore.
Simple Guide To Configure Elementor Taxonomy Filter Widget
You can enhance your website’s user experience by adding a Taxonomy Filter to your Elementor Loop Grid, enabling visitors to filter content by multiple characteristics, such as categories and tags. Here’s how to create a Taxonomy Filter:
Step 1: Add The Taxonomy Widget
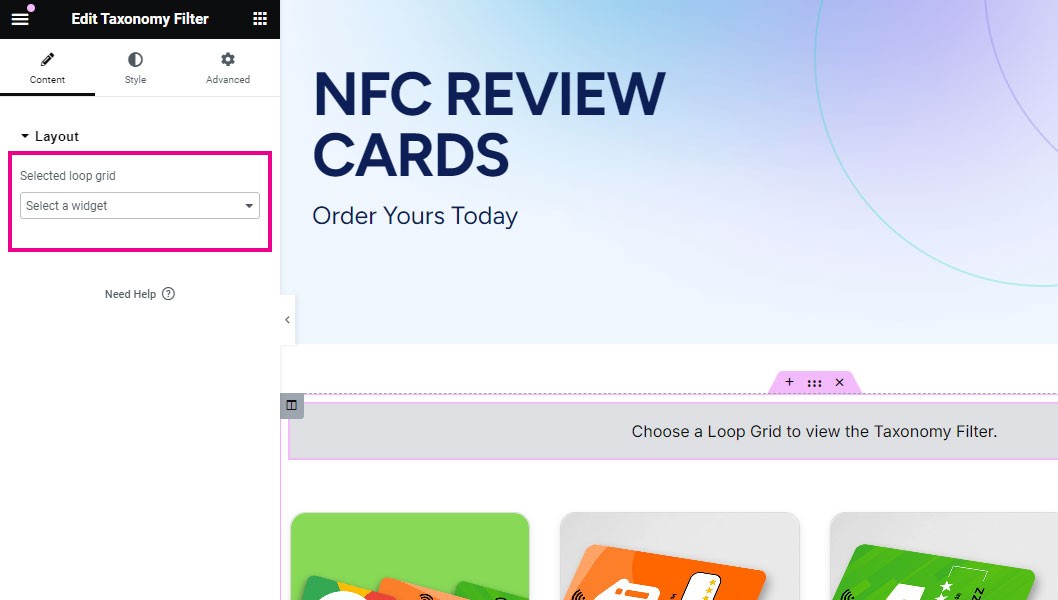
In the Elementor editor, navigate to the page where you want to add the Taxonomy Filter. Drag and drop the Taxonomy widget onto your Loop Grid. If you’re unsure how to add elements to a page, you can find guidance in the “Add Elements to a Page” section.
Step 2: Configure Taxonomy Settings
In the Elementor panel, follow these steps:
→Click on the Loop Grid element to select it.
→Under the “Contents” tab, expand the “Layout” section.
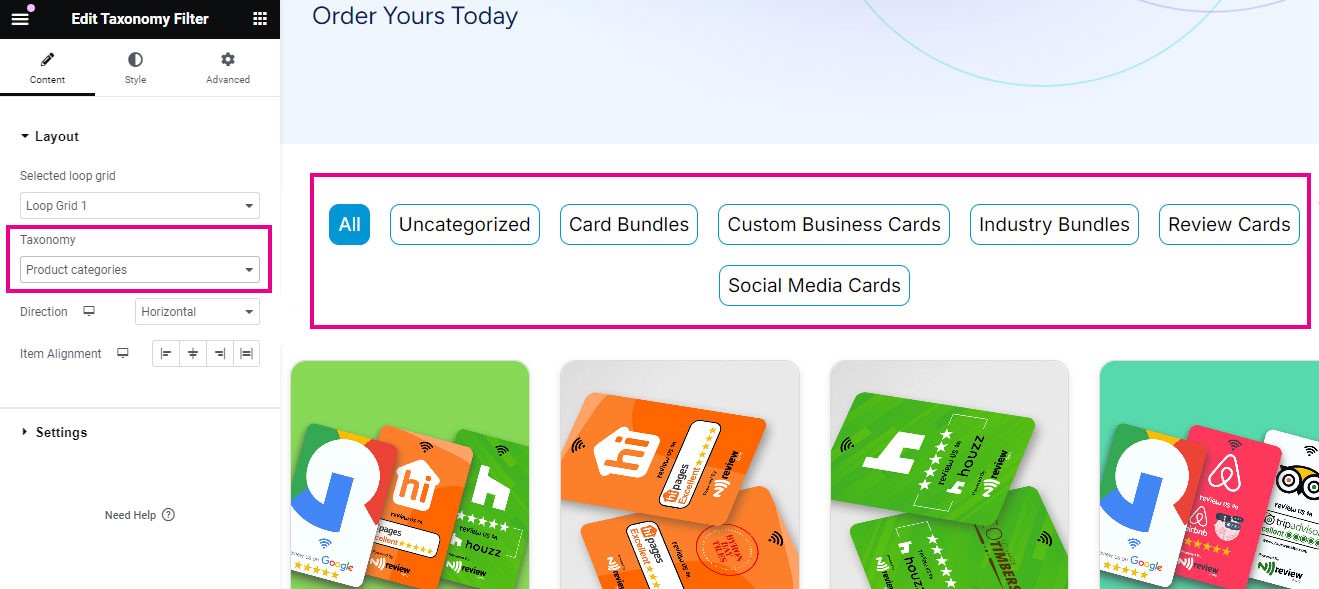
→In the “Selected Loop Grid” dropdown menu, choose the specific Loop Grid you want to associate with the Taxonomy Filter.
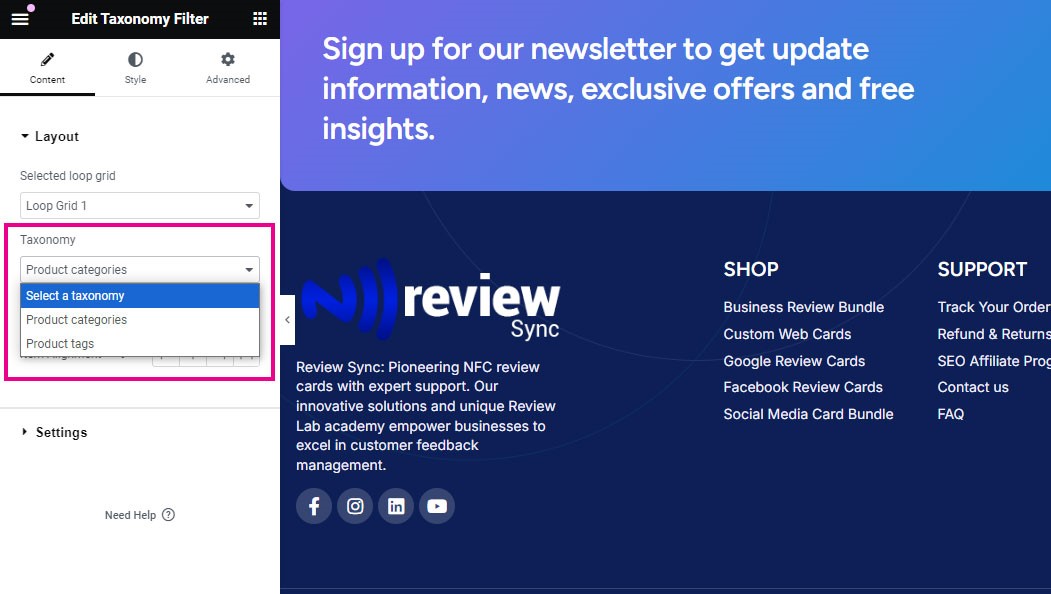
→Next, navigate to the “Taxonomy” dropdown menu. Here, you can select whether you want to filter content by categories or tags.
Step 3: Implement Filtering
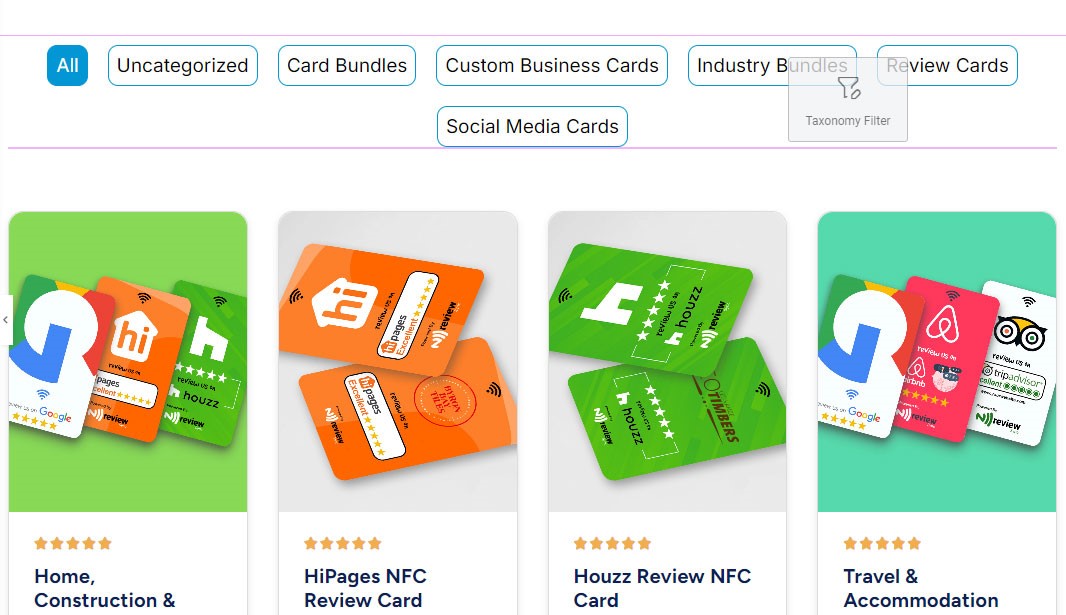
With the Taxonomy Filter in place, a menu of categories or tags will now appear in your Loop Grid. When a visitor clicks on a category or tag in this menu, only the posts related to that selected category or tag will be displayed in the Loop Grid.
If a visitor wishes to view all posts again, they can simply click on “All.” For example, if they want to see only “Uncategorized” posts, they can click on “Uncategorized.” To reset the filter and view all posts, they should click “All.”