What are Push Notifications?
A push notification is a message that pops up on a mobile device. Mobile App publishers can send them at any time; users don’t have to be in the app or using their devices to receive them. They can do a lot of things; for example, they can show the latest sports scores, get a user to take an action, such as downloading a coupon, or let a user know about an event, such as a flash sale.
(Note: the following instruction is targeted for a Android Mobile app built via Expo but a can also be used for normal react-native project)
Using FCM for Push Notifications
Firebase Cloud Messaging is required for all managed and bare workflow Android apps made with Expo, unless you’re still running your app in the Expo Go app. To set up your Expo Android app to get push notifications using your own FCM credentials, follow this guide closely.
Note that FCM is not currently available for Expo iOS apps.
Client Setup
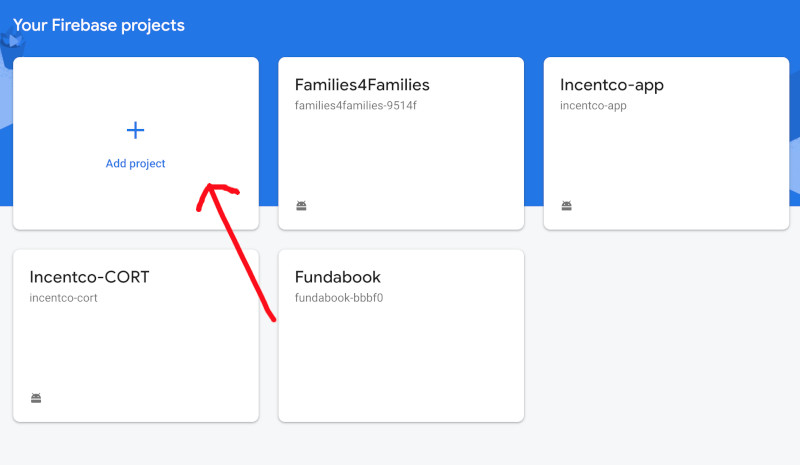
If you have not already created a Firebase project for your app, do it by clicking on Add project in the Firebase Console at https://console.firebase.google.com
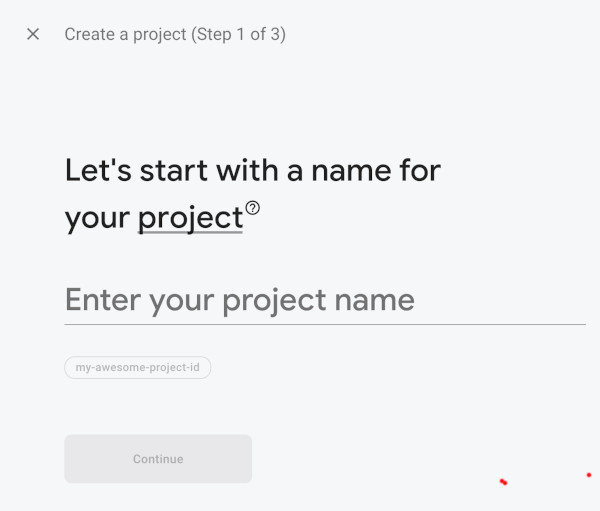
Process with Filling new project name and Selecting an account in the next step that follows(see below).
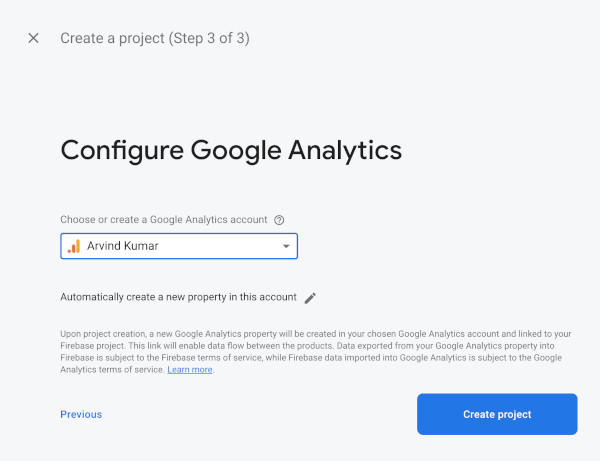
 Then click Continue in next step, then, Select account(see below)
Next Step
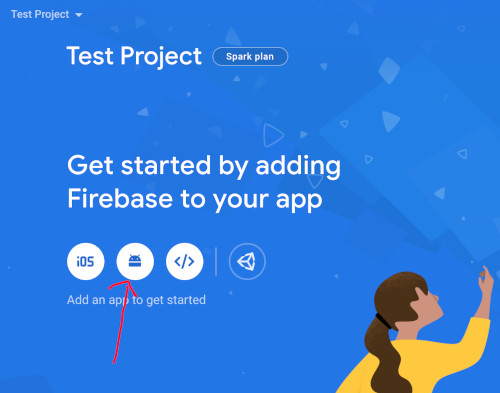
In your new project console, click Add Firebase to your Android app and follow the setup steps (see image below)
Make sure that the Android package name you enter is the same as the value of android.package in your app.json.
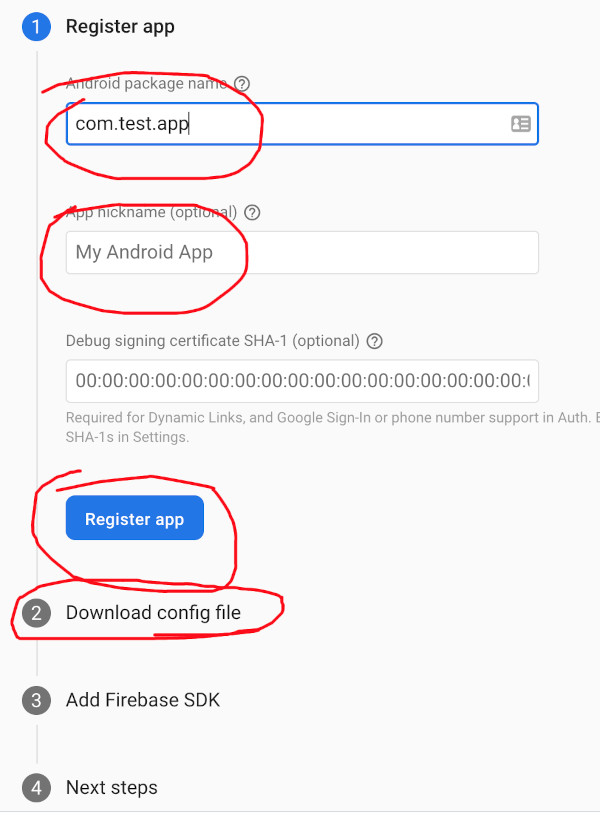
Next, download the google-services.json file and place it in your Expo app’s root directory.
In your app.json, add an android.googleServicesFile field with the relative path to the google-services.json file you just downloaded. If you placed it in the root directory, this will probably look like
{
  ...
  "android": {
    "googleServicesFile": "./google-services.json",
    ...
  }
}
Confirm that your API key in google-services.json has the correct “API restrictions” in the Google Cloud Platform API Credentials console.
For push notifications to work correctly, Firebase requires the API key to either be unrestricted (the key can call any API), or have access to both Firebase Cloud Messaging API and Firebase Installations API. The API key can be found under the client.api_key.current_key field in google-services.json.
{
  ...
  "client": [
  {
    "api_key": [
    {
      "current_key" "",
    }
    ],
   }
  ]
}Note: Firebase will create an API key in the Google Cloud Platform console with a name like Android key (auto created by Firebase). This is not always the same key as the one found in google-services.json. Always confirm your key and associated restrictions in the Google Cloud Platform console.
Finally, make a new build of your app by running expo build:android.
Bare projects
If you do the above setup before ejecting to bare, your FCM notifications will continue to work properly without any extra steps after ejecting. However, if your project is already ejected to bare and you want to set up FCM retroactively, you’ll need to:
Set up Firebase in your Android project
Copy the same google-services.json file into the android/app directory. If that file already exists, you should overwrite it.
Uploading Server Credentials
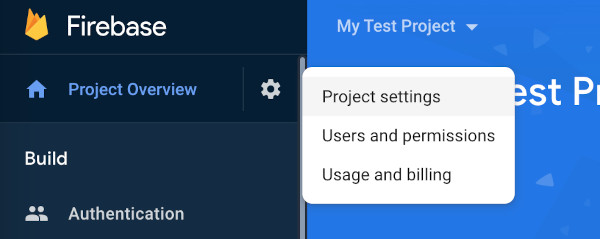
In order for Expo to send notifications from our servers using your credentials, you’ll need to upload your secret server key. You can find this key in the Firebase Console for your project:
- At the top of the sidebar, click the gear icon to the right of Project Overview to go to your project settings.
- Click on the Cloud Messaging tab in the Settings pane.
- Copy the token listed next to Server key.
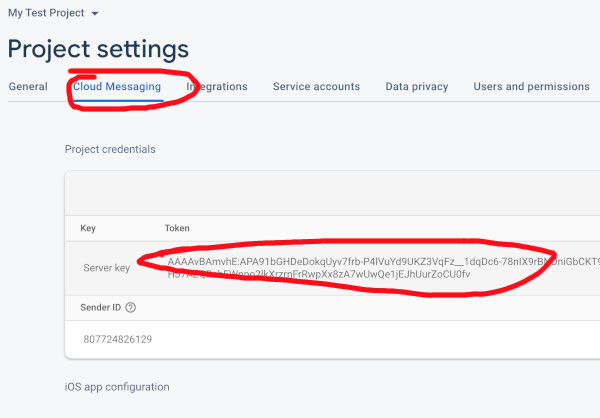
Now, run expo push:android:upload –api-key , replacing with the string you just copied. Expo will store your token securely on its servers, where it will only be accessed when you send a push notification.
That’s it — users who run this new version of the app will now receive notifications through FCM using your project’s credentials. You just send the push notifications as you normally would (see guide). Expo will take care of choosing the correct service to send the notification.
Read next: How to Change Default iOS Simulator Device to run a React Native app
Great article, thanks for sharing. Can you please tell me best affordable us based push notification platform with 14 days trial.